
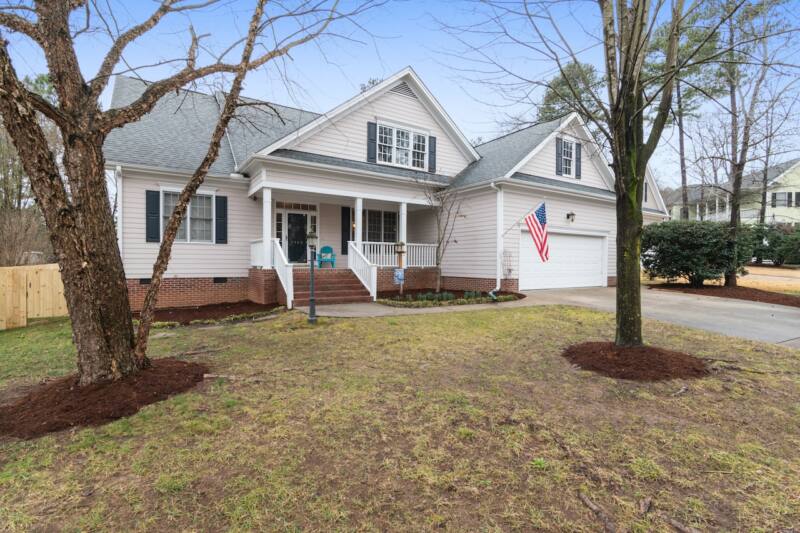
After a severe storm has passed, have you checked to see if your roof has sustained any damage? It’s important to be proactive and check for any potential issues before they turn into costly repairs.
Storms can wreak havoc on your home, especially your roof. High winds, heavy rainfall, and hail can all cause significant damage that may not be immediately visible. It’s essential to take the time to inspect your roof after a storm to ensure its integrity and prevent further damage.
Checking your roof after storms is a crucial step in maintaining the safety and structural integrity of your home. By following a simple inspection process, you can identify any issues early on and take the necessary steps to address them, saving you time, money, and stress. This article will guide you through the steps to effectively check your roof after storms and give you peace of mind in knowing that your home is protected.
1. Walk the Exterior Perimeter of Your Home
The first step in the process is to walk around the exterior perimeter of your home. Take a close look at the roof, paying special attention to any areas that have experienced direct contact with storm elements such as wind, rain, and hail. Look for signs of roof damage such as missing shingles, broken tiles, or other materials. Additionally, check for leaks or damp spots that may indicate damage.
2. Inspect Your Attic and Interior Ceilings
Once you have completed the exterior inspection, it’s time to move indoors. Head to the attic or upper levels of your home and inspect the interior ceilings for any signs of water leaks or stains. If noticed, these could indicate a roof leak or other damage caused by the storm.
3. Check Your Gutters
Take a close look at your gutters to ensure that they are clear of debris and not clogged. Clogged gutters can cause water to back up, creating the potential for roof damage. Additionally, check for any signs of water drainage issues, which could be an indication that the roof is not draining correctly.
4. Search for Collection of Granules
Take the time to look for any loose or missing granules from the roof’s surface. This could be a sign that water is present in your shingles and that the roof may need to be replaced.
5. Check Your Soffit, Fascia, and Flashing
The soffit, fascia, and flashing are important components of your roof that play an essential role in protecting your home from water damage. Inspect these areas for signs of damage such as gaps or cracks that could indicate deterioration or structural issues. These should be addressed immediately to prevent further damage.
6. Take Pictures and Document Any Damage
If you find any signs of damage while checking your roof after storms, it’s important to document them with photos and notes. This will help you provide evidence to an insurance company if you need to file an insurance claim.
7. Get the Roof Repairs Done Sooner Rather Than Later
Once you have identified any issues, it’s essential to repair them quickly. Don’t wait for the next storm to come—address the problems right away before they become more serious and costly. A qualified roofing contractor can help you repair your roof properly and ensure that it is secure and watertight.
Need a Roof Inspection?
When you partner with Tristate Roofing & Remodeling, we will walk you through the process of keeping your roof in its best shape. Contact us today to get started!


